Wednesday, September 5, 2012

Angela Bag

I have been busy recently with making purses! I thought I had posted pictures of the purses and wallets I've made, but apparently, I haven't. I'll upload pictures in a minute, but right now, I am going to show you my most recent accomplishment, the Angela Bag!

This is a bag that my sister (Angela) requested. I asked what she wanted it to look like and she decided to leave it all up to me, with the caveat that it had short straps. Hurray! I love to have free creative rein. Here it is:


From Angela Bag
From Angela Bag

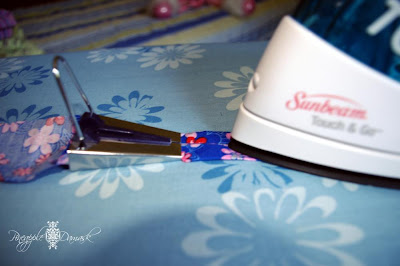
My mom had picked up a fat quarter pack for me a week earlier and, since fat quarters are my absolute favorite (how else can you get such a great variety of fabrics without having to buy yards and yards?) I decided to use that pack for this purse. I sketched up a quick Dresden plate for the stripwork and quilted them with the "stitch in the ditch" method. The top and handles are bias tape.

If you look at the picture of the innards closely, you'll notice that there are actually two fabrics for the lining! I didn't have enough of one fabric for the lining, so I used two. If I say that it's supposed to be that way, than will anyone know any different? Haha!

I hope my sissy loves this bag!

© 2012 Pineapple Damask, All Rights Reserved

Continuous Bias Tape

I was really excited to hear about this! Traditionally, when you make bias tape, you have to piece multiple strips together to create a length of tape long enough for your purposes. However, I recently learned about a technique where you manipulate the fabric beforehand and create a continuous piece of bias tape! It's already pieced for you :) Oh joy.

It takes a little tinkering to get it right, but once you have the technique down, it goes really fast. Plus, it saves on all that sewing of little strips of fabric. Here's how it's done.

Take a perfectly square piece of fabric. Mine is 10x10. Cut the fabric along the long diagonal. This is the bias of the fabric. I will refer to these edges as the bias edges from this point on in the tutorial.

Then, put right sides together and align one of the short edges on each piece. You will sew along this edge. I usually do a 1/4" seam allowance. Afterwards, iron open the seam. This will set the stitches and reeduce bulk.


On the back of the fabric, place lines parallel to the bias edge and as wide as you need for your bias strips. I am making 1" bias tape, so my lines are 2" apart. I used a regular pencil for my lines. I always use a pencil.  It's cheaper than a seamstress pen and just as washable.


Here's the tricky part. You'll want to bring the bias edges together to create a square. Lining up the lines helps. Then, you need to offset the edges by the width of your lines and realign the lines. It's hard to explain in words. just tinker with it. Pin in place and then follow the lines with your fingers. You want to be able to trace completely around the tube of fabric from one end to the other without dead ending at your start point. Once you figured this out and you have it all nice and pinned, sew that edge. Again, I used a 1/4" seam allowance. Iron the edge open when you're finished.


If you did if right, and I'm sure you did, cut along your line (it's now one continuous line!) Carefully cut only through one layer of the fabric!


Yay! One long strip of bias fabric.


Finally, run that strip through your bias maker and make something fabulous with your bias tape!


© 2012 Pineapple Damask, All Rights Reserved